Introduction
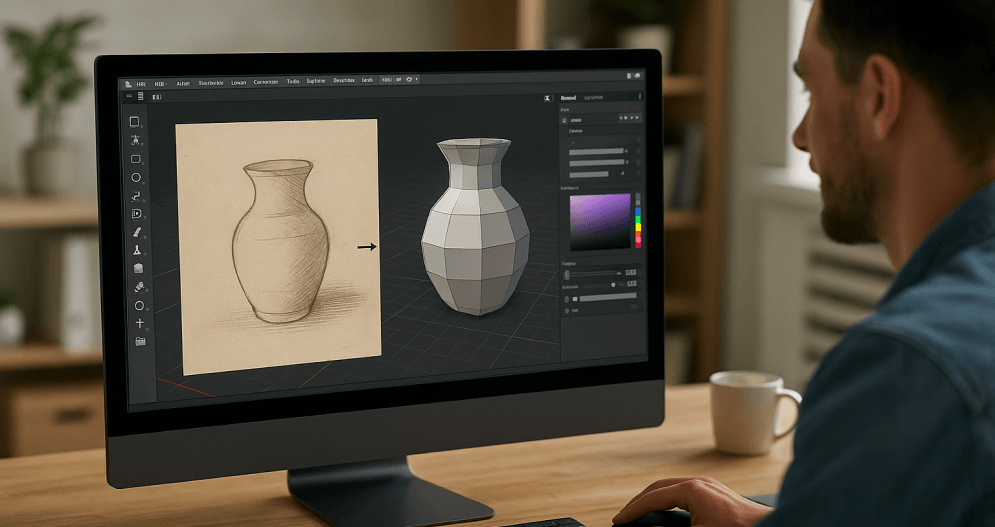
Picture this: you snap a photo or sketch out a concept, and moments later, you’re spinning an interactive 3D model on your screen. No coding. No heavy 3D software. Just pure creativity. That’s exactly what RealityMAX’s image to 3d tutorial helps you unlock.
Whether you’re a product designer shaping your next release, a game developer building new worlds, a digital artist pushing the boundaries of AI image creation, or simply curious about 3D, RealityMAX makes bringing flat images to life effortless.
In this image to 3d tutorial, we’ll walk you through uploading your 2D images, generating your first 3D model, and polishing it to perfection. You’ll also discover how to prep your background image for best results, where to use this tool across industries, and how to make the most of this user-friendly platform.
Ready? Let’s turn those ideas into a 3D reality.
How to get started with this image to 3D tutorial
If this is your first time trying RealityMAX, don’t worry, this image-to-3D tutorial is designed to guide you step by step. The process is simple: upload your photo or image, adjust a few settings, and let the AI tool do the heavy lifting.
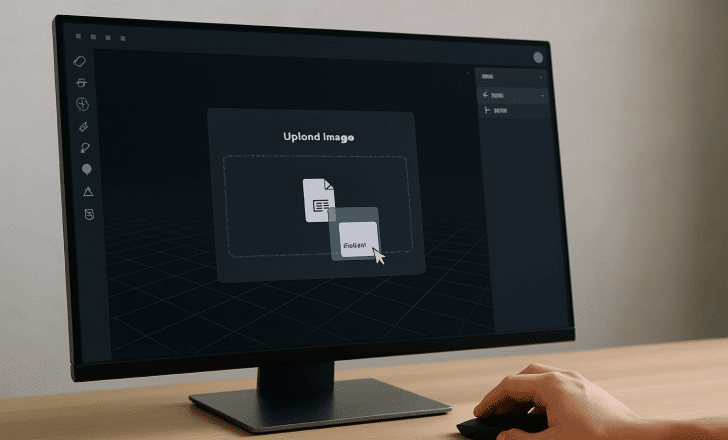
Even if you’ve never used 3D software before, you’ll find that the platform makes the process intuitive. Just follow the instructions below: log in, start a new scene, click “Upload Image,” and watch as your one image transforms into an interactive 3D model.
And if you want to take things further, you can explore advanced editing features like adjusting layers, refining depth, and adding new textures without needing to install complex software. Think of this tutorial as your launchpad into the future of 3D creation.

How to upload 2D images in RealityMAX
Turning a 2D image into a 3D model with RealityMAX couldn’t be easier. The process is smooth, intuitive, and beginner-friendly. Follow this image to 3D tutorial to get started.
1. Log in to RealityMAX
Head over to RealityMAX and log in. If you’re new here, great! Signing up is quick and free and gives you instant access to the platform.
2. Create or open a scene
Once logged in, you’ll land on your dashboard. Open an existing scene or click New Scene to start fresh. Think of scenes as your 3D playground, where models, textures, and assets come together.
3. Click “Upload image”
Inside your scene, find the Upload Image button (you’ll usually see it in the side toolbar or asset panel). One click opens the upload window.
4. Choose your 2D image
Now, pick the image you want to convert. JPG and PNG files work best. In the next section, we’ll cover tips for prepping your background image and getting the best results.
5. Watch the magic happen
RealityMAX’s AI engine kicks in when your image is uploaded, analyzing depth, edges, textures, and visual cues. In just seconds (or up to a minute for complex images), you’ll have a 3D model ready to go.
6. Edit and share your model
Once the 3D model appears in your scene, it’s yours to play with. Scale it, reposition it, tweak the layers, adjust textures, enhance it however you like. Want feedback? Share a preview link or embed it straight into your site or portfolio.
That’s it. No 3D modeling background required. Anybody can do this with RealityMAX.
Best practices for better 2D to 3D results
Want sharper, more accurate 3D models? These best practices will help you convert your 2D images into stunning 3D creations with less hassle and better results:
✅ Use a clear JPG or PNG file
Low-res or blurry files? Forget them. Aim for crisp images, at least 1024×1024 pixels. PNGs with a transparent background layer are ideal; they make background image cleanup a non-issue.
✅ High-contrast or grayscale sketches work best
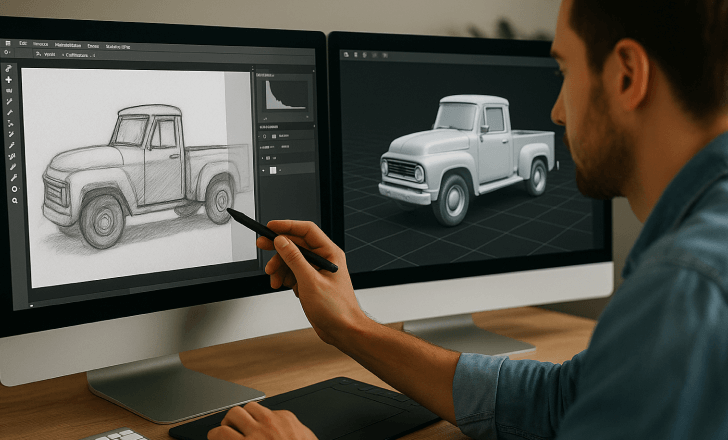
Strong lines and distinct contrasts help the AI tool detect edges and shapes. Hand-drawn grayscale sketches are perfect, especially for designing characters, products, or objects.
✅ Keep backgrounds simple
A noisy background image will confuse depth detection. The simpler, the better: remove the background or use a solid color so the AI can focus on your subject.
✅ Include visual cues for depth
Shading, lighting, and perspective: These small details give your image depth and help the AI generate a more accurate model. To emphasize form, try side lighting or top-down shadows.
✅ Avoid text-heavy or flat icon designs
RealityMAX shines when converting objects, people, and organic shapes, not flat logos or icons with no depth. The results may look too flat if your image lacks layers or texture.
What is a background layer, and why does it matter?
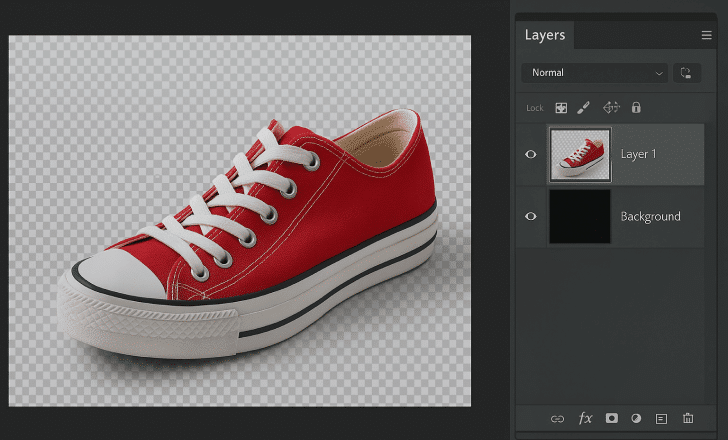
The background layer plays an important role when converting a 2D image into a 3D model. A cluttered or distracting background image can confuse the AI tool, leading to less accurate results.
By isolating your subject—either by using a transparent background layer or by prepping your image in a tool like Photoshop—you give the platform a clearer view of the object’s edges, shape, and depth. This makes it easier for the AI to generate a smooth and accurate 3D model.
If you want the highest-quality output, start by uploading a PNG with a transparent background layer, or simplify your photo so the focus stays on your subject. It’s a small step that makes a big difference.
How to optimize your background image for better 3D results
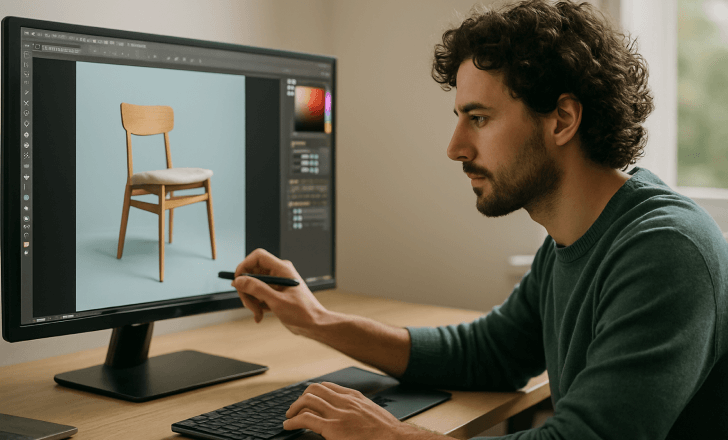
Before you upload your background image to RealityMAX, take a moment to optimize it. Clean, high-contrast images with clear edges work best.
If your background image is too busy or dark, try removing the background or enhancing contrast. Use an AI image editor or Photoshop to adjust brightness, simplify layers, or sharpen textures. This makes it easier for the AI tool to detect key features like depth, perspective, and object boundaries, resulting in a better 3D model.
Remember: the clearer your background image, the smoother your creation will look in the final 3D environment.
Use cases for 2D-to-3D conversion
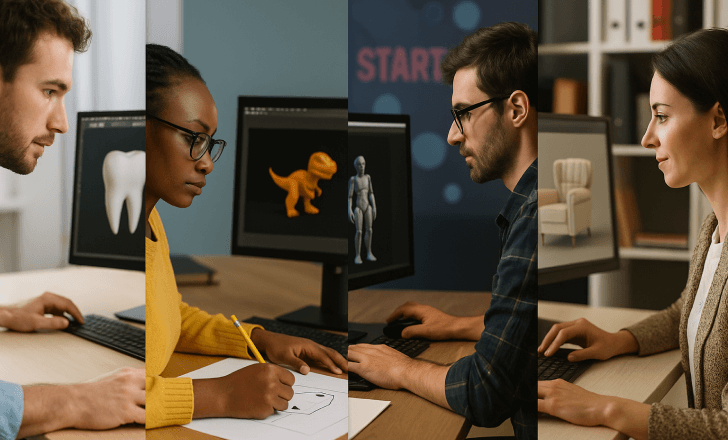
Curious how creators and professionals are putting this feature to work? Here are ten ways people are using RealityMAX’s image to 3D model to convert simple 2D images into fully interactive 3D models faster and easier than ever:
1. Character concept to 3D avatar
Game developers and animators can take one image—a rough character sketch or polished concept art—and turn it into a fully editable avatar inside RealityMAX. Using the platform’s AI tool, they can adjust layers, tweak textures, and add detail, creating a dynamic 3D model ready for games, films, or VR. There is no need to start from scratch in Blender or other time-consuming software.
2. Product design and prototyping
Industrial designers and product teams can convert 2D mockups, photos, or marketing images into 3D models to visualize how products will look in real space. This technique is perfect for displaying early-stage designs, creating virtual prototypes, and optimizing presentations for clients without investing hours in traditional 3D modeling. It’s a true life-easier moment for fast-paced design workflows.
3. Virtual art exhibits
Digital artists can use RealityMAX to generate 3D versions of hand-drawn or digital artwork and insert them into immersive online galleries. Whether building an AR art show or an interactive metaverse space, it’s a creative way to enhance and display artwork beyond the flat screen. No complicated CPU-intensive software needed. Just upload and go.
4. Education and e-learning
Educators can transform 2D photos, diagrams, or scientific illustrations into 3D teaching aids. Upload a background image, adjust layers, and let the AI engine generate a 3D model that brings lessons to life: perfect for biology, history, geography, and STEM classes. The user-friendly interface makes it accessible to everybody, even those new to 3D tools.
5. Architecture and interior design
Architects and designers can create quick spatial studies by uploading sketches of interiors, furniture, or facades. RealityMAX helps them convert these into spatially accurate 3D models, ready for early visualization or client presentations. It’s also a great tool for exploring scale, depth, and layout options without the time-consuming process of building from scratch.
6. Fashion and apparel visualization
Fashion illustrators and designers can upload garment sketches and quickly generate 3D previews. Whether creating pieces for virtual fitting rooms, marketing campaigns, or digital fashion shows, this tool makes it easy to visualize fabric layers, textures, and silhouettes. A game-changer for professionals who want to move fast from concept to virtual sample.
7. Storyboarding for film and animation
Film directors, animators, and storyboard artists can import scene sketches or Photoshop storyboards and convert them into rough 3D layouts. It helps visualize camera angles, lighting, and depth, turning flat plans into interactive scenes for better planning and previsualization. Forget static 2D storyboards—this workflow brings your ideas into the third dimension.
8. Marketing & advertising
Creative agencies can convert product shots, packshots, or ad concepts into engaging 3D models ready for interactive ads, AR marketing, and immersive experiences. Upload one image, adjust layers, and instantly generate content that grabs attention. It’s perfect for campaigns where flat visuals just won’t cut it. Plus, the platform makes sharing and embedding simple with built-in features.
9. Historical or cultural preservation
Museums and archives can take photos or scanned drawings of artifacts and convert them into detailed 3D digital replicas. These models can then be displayed in virtual galleries, preserved for educational use, or even optimized for VR experiences, helping bring the past to life for modern audiences. No more worrying about fragile originals—the digital creation is there to explore.
10. Toys and collectibles design
Toy makers and collectors use RealityMAX to convert sketches into production-ready 3D models. Upload one image, use the AI tool to generate a prototype, then fine-tune the layers and textures before sending to 3D print. It’s the perfect solution for rapid ideation, making life easier for creatives working on new collectibles, figurines, and game accessories.
Frequently asked questions
1. What types of images work best for 2D to 3D conversion?
To get the best possible results when following this image to 3D tutorial, start with images that give the AI tool plenty to work with: clear outlines, high contrast, and some sense of depth. Grayscale sketches, drawings with strong shadows, or objects isolated on a simple background layer all work brilliantly. If you’re uploading a photo, try to avoid cluttered background images: the cleaner the subject, the easier it is for the platform to detect edges and generate an accurate 3D model.
2. Can I edit the 3D model after uploading the image?
Absolutely. Once your image is converted, the real fun begins! Inside RealityMAX’s user-friendly interface, you can tweak almost everything: adjust layers, scale, rotate, reposition, apply new textures, fine-tune the depth, or even edit the environment your model lives in. You don’t need to be a Photoshop pro or a seasoned 3D designer; the platform is designed to make life easier for everybody.
3. Is there a limit to how many images I can upload?
You can upload one image at a time when creating a new 3D model. This keeps the process fast and prevents system slowdowns, so users can maintain a smooth workflow even on lighter CPU setups. Of course, you can repeat this tutorial as often as you like to build entire projects. Many professionals upload dozens of images to complete a scene or collection over time.
4. Can I export the 3D model for use in other platforms?
Yes! One of the best parts of RealityMAX is the freedom to export your finished models in a wide range of formats: glb, obj, ply, stl, or usdz. Whether you want to move your project into Blender for advanced animation, optimize it for AR marketing, prep it for 3D printing, or display it on another site, it’s all possible. We know professionals need flexibility, and this tool makes sure you have it.
5. Is this feature suitable for 3D printing?
It sure is. Many users love taking quick sketches or concept images, using this AI image tool to generate simple 3D shapes, and then exporting them as stl or ply files for printing. Whether you’re printing toy prototypes, educational models, or even parts for cosplay and collectibles, this platform refreshes the journey from photo to print-ready file. Remember that more complex models might need a little extra polishing before hitting “print.” But thanks to RealityMAX’s user-friendly design, getting from idea to creation is easier than ever.
Why this AI tool makes your life easier
RealityMAX’s built-in AI tool is what powers this entire image to 3D tutorial. Instead of spending hours manually building layers, adjusting vertices, or writing complex shaders, this tool automates the process. It quickly analyzes depth, edges, textures, and perspective, so that even if you upload one image, you’ll end up with a 3D model that looks polished and ready to edit.
This AI tool makes life easier for busy professionals, educators, or creators working on tight deadlines. You’ll free up time, streamline your workflow, and open up new creative possibilities without the steep learning curve of traditional 3D software.
Best of all, you can export your models and use them anywhere, from animation tools to Blender to AR experiences.
Conclusion
RealityMAX is changing the game, redefining how creators convert ideas into interactive 3D experiences. With its cutting-edge image-to-3D tutorial and AI-powered transformation tool, anyone can now generate 3D models from a single flat image. No complicated software, no steep learning curve.
Whether you’re sketching your next product, visualizing an interior space, building an architectural environment, designing apparel, or crafting characters for an indie game, RealityMAX makes it possible. The user-friendly interface helps everybody—from curious beginners to seasoned professionals—step into 3D with confidence. You’ll spend less time on setup and more time creating, exploring, and collaborating.
And because this platform integrates seamlessly into modern creative workflows, offering export options, background layer control, and direct editing, you’ll find yourself using it repeatedly across all kinds of projects. It’s never been easier to bring your ideas to life in 3D.
So, what are you waiting for? Fire up RealityMAX, dust off that photo or sketch, and start building your 3D world, one image at a time.
